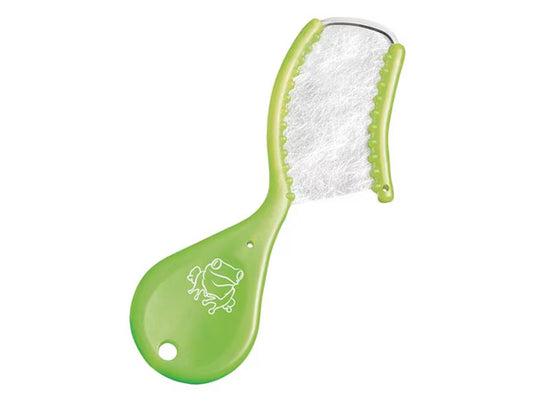
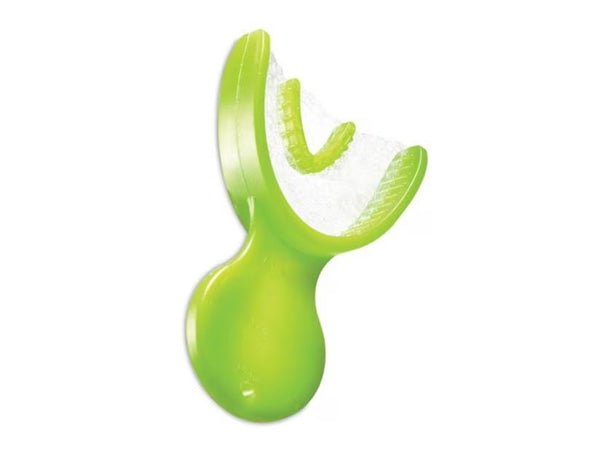
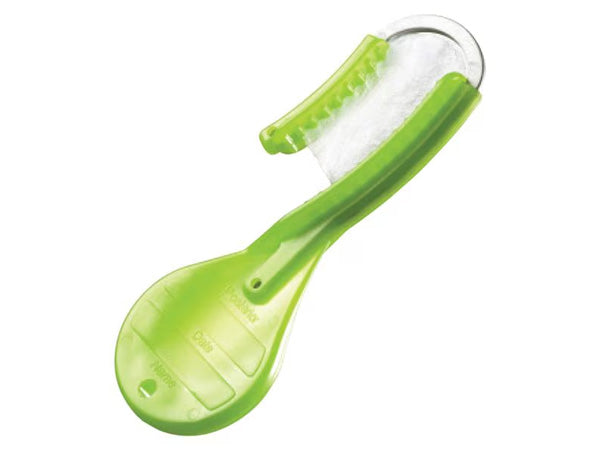
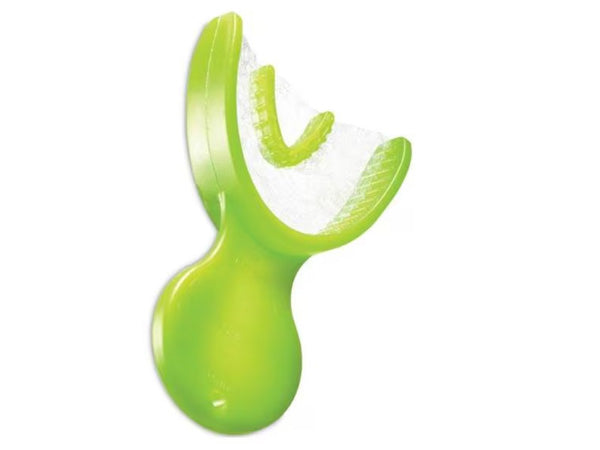
Gripper trays are disposable super rigid, plastic tray frames with thin mesh webbing used to capture simultaneous crown and bridge, bite registrations and opposing impressions. Single-use only.
Clinical Technique
Directions for use:
Place unloaded Gripper Tray into proper position. When using the posterior quadrant tray, make sure the end of the tray is distal to the last maxillary tooth and the tray is centred buccally/lingually.
Instruct the patient to “close” on the unloaded tray. Inspect the opposite side of the patient’s mouth to ensure that it is closed into the correct occlusion. To record the most accurate bite registration, take the impression with the patient in an upright position.
Paint impression adhesive on tray walls only, not on the webbing. Overload both sides of the tray.
NOTE: Gripper Tray must be used with a firm setting material. It may also be used with hard-setting Heavy Body/Light Body one-step techniques. Two-step techniques and putty materials are not recommended.
Remove the retraction cord if used, and wash the area thoroughly. Syringe impression material around the area to be recorded.
Load Gripper Tray with impression material.
Place the loaded Gripper Tray into the proper position and have the patient close properly.
When set, gently remove from mouth.
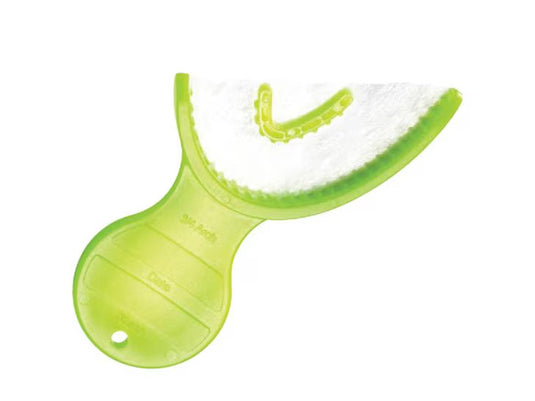
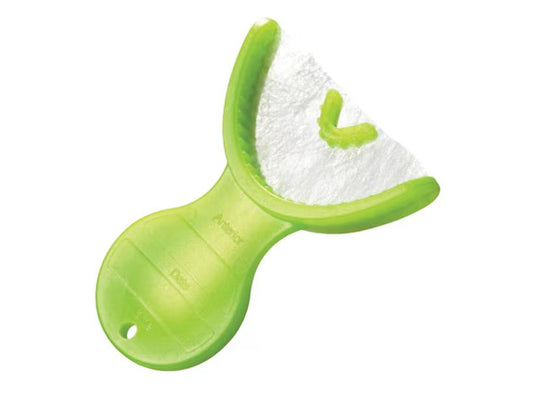
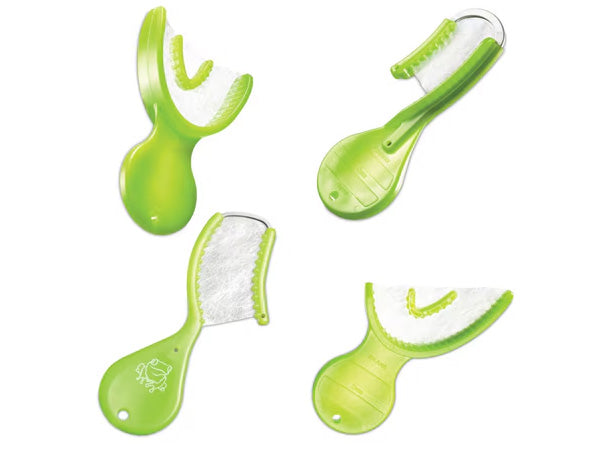
Configurations
Gripper trays are available in 40-packs in the following configurations:
Use left/right arrows to navigate the slideshow or swipe left/right if using a mobile device
Choosing a selection results in a full page refresh.
Press the space key then arrow keys to make a selection.
Shopping Cart
Product Details
Clinical Technique
Configurations
Resources
Product Details
Gripper trays are disposable super rigid, plastic tray frames with thin mesh webbing used to capture simultaneous crown and bridge, bite registrations and opposing impressions. Single-use only.
Clinical Technique
Directions for use:
Place unloaded Gripper Tray into proper position. When using the posterior quadrant tray, make sure the end of the tray is distal to the last maxillary tooth and the tray is centred buccally/lingually.
Instruct the patient to “close” on the unloaded tray. Inspect the opposite side of the patient’s mouth to ensure that it is closed into the correct occlusion. To record the most accurate bite registration, take the impression with the patient in an upright position.
Paint impression adhesive on tray walls only, not on the webbing. Overload both sides of the tray.
NOTE: Gripper Tray must be used with a firm setting material. It may also be used with hard-setting Heavy Body/Light Body one-step techniques. Two-step techniques and putty materials are not recommended.
Remove the retraction cord if used, and wash the area thoroughly. Syringe impression material around the area to be recorded.
Load Gripper Tray with impression material.
Place the loaded Gripper Tray into the proper position and have the patient close properly.
When set, gently remove from mouth.
Configurations
Gripper trays are available in 40-packs in the following configurations: