An Effective Ceramic Polishing Technique in Everyday Practice
Placing permanent ceramic restorations in our patients’ mouths is an everyday occurrence for the restorative dentist. These restorations help to restore lost tooth structure, stabilize the occlusion, replace missing teeth, and improve esthetics. The final surface texture must be smooth and polished for patient comfort and to prevent damage to opposing teeth.
The critical parts of finalizing the restoration are ensuring an excellent fit, proper occlusal contacts, desensitization of the prep, proper cementation, and cleanup. The provisional restoration is removed from the tooth and the provisional cement is removed from the tooth surface. The tooth preparation must be adequately cleaned. This is best accomplished with sandblasting the tooth structure with 27-micron aluminum oxide in a micro etcher to ensure clean healthy enamel and dentinal surfaces, which will improve bond strength. Prior to cementation the tooth must be desensitized, and the dentinal tubules sealed with a product such as Clinician’s Choice G5. The G5 is bactericidal and will prevent post-operative sensitivity. All residual cement must be removed and one must prevent tooth desiccation prior to final cementation.
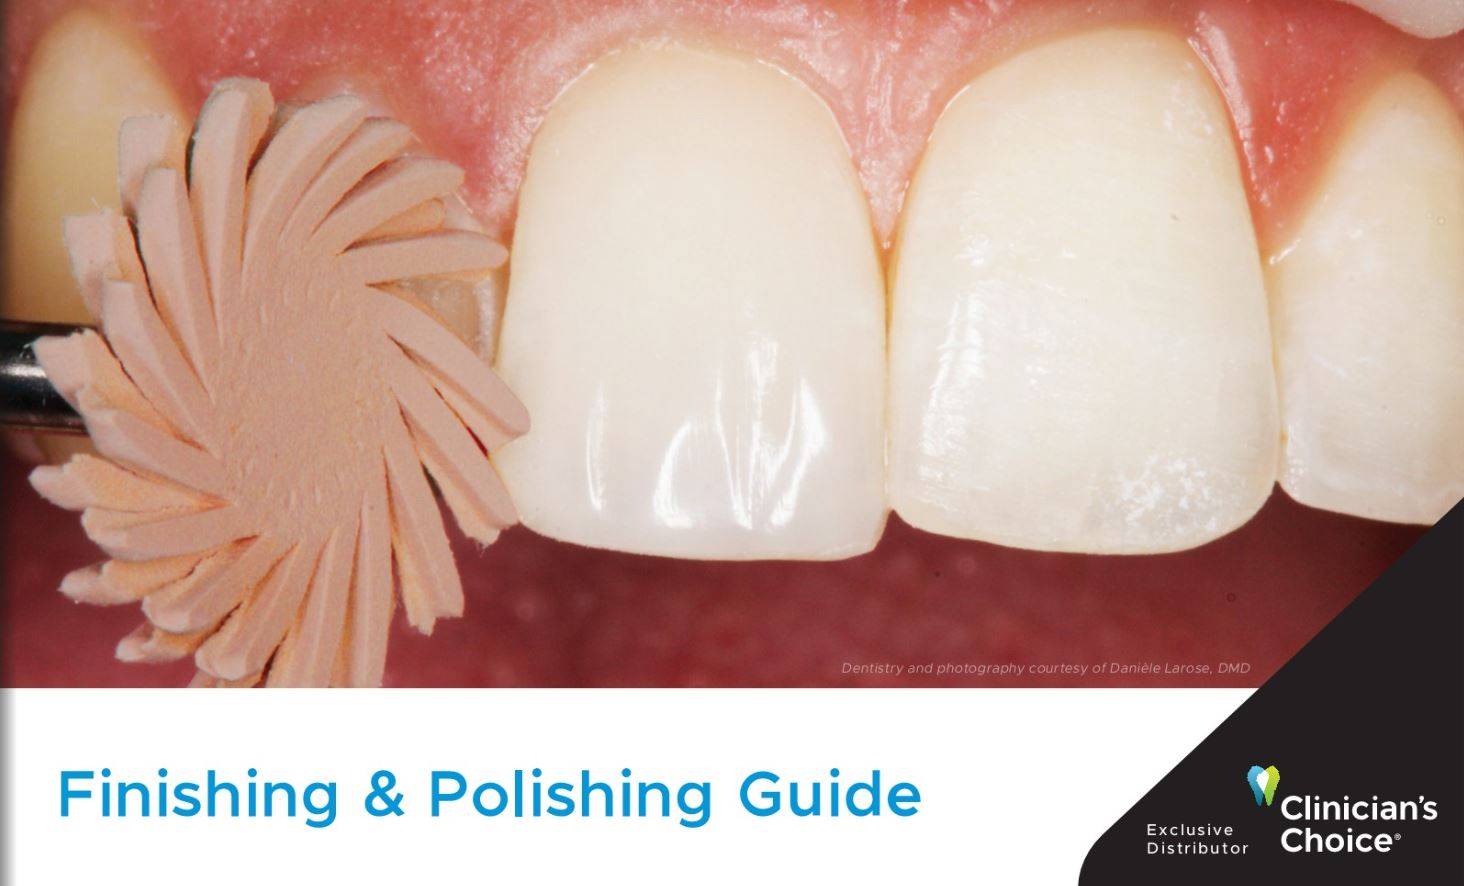
Attention is then directed to the occlusal surface. If the occlusion is too low, this would be evident during the try-in phase. At this point, additional ceramic material should be added to the occlusal surface to ensure proper centric stops and no drifting of opposing teeth. This may involve returning the restoration to the lab. However, when the occlusion is too high, adjustments must be finalized to obtain a highly polished surface. A rough surface can collect stain, become an irritation to the tongue and more importantly cause abnormal wear on the opposing teeth. It has been shown that even a glazed surface from the lab can cause unwanted opposing tooth wear. A hand polished surface is best. The following is a polishing system that is very effective in achieving a highly polished surface on the porcelain restoration chairside.
The ASAP InDirect+ system from Clinician’s Choice is an excellent choice for polishing Zirconia, Lithium Disilicate and many other ceramic surfaces. The ASAP system really is an “all surface access polisher” because the feather edge of the disks allows polishing the smooth surfaces and into deep grooves and crevices. Occlusal verification starts with an 8-micron articulating paper marked in centric and lateral excursions. After the adjustment is completed often with high-speed burs and finished with an extra fine high-speed diamond, the next step is to use the diamond impregnated adjusters. They come in 3 different shapes, for adjustment of all the crown surfaces. These adjusters are used to remove the scratches left from the adjustment burs. A moderate amount of hand pressure will remove deeper scratches whereas light pressure will remove the superficial scratches. This takes about 1-2 minutes.
Once the scratches are removed and the occlusal contacts are correct, the restoration is then polished. The system includes diamond impregnated wheel pre-polishers (blue) and final polishers (pink). The polishers come in both intra-oral contra-angle latch polishers and extra oral lab wheels for a straight nose cone. Initial adjustments can be done extra-orally and after cementation and final verification, the contra-angle polishers and be used intra-orally as needed. As in the adjusters, the pre-polishers and polishers also require light to moderate pressure to finish and polish. The pre-polishers take about 1 minute to smooth the porcelain, and the polishers take about 30 seconds for a high shine.
The adjusters, pre-polishers and polishers can then be autoclaved to be reused. They have excellent longevity and a low wear rate, allowing them to be used on many patients and many restorations.
Other uses of the ASAP InDirect+ polishers are everyday composite restorations, provisional crowns, removable and fixed hybrid prostheses.
This author suggests after cementation on the most posterior teeth, to check the occlusion using a bi-manual manipulation technique of the mandible. This will ensure the condyle is fully seated in the joint and there are no premature contacts or interferences. The patient will have an excellent ceramic restoration that should last several years.
Clinical Case
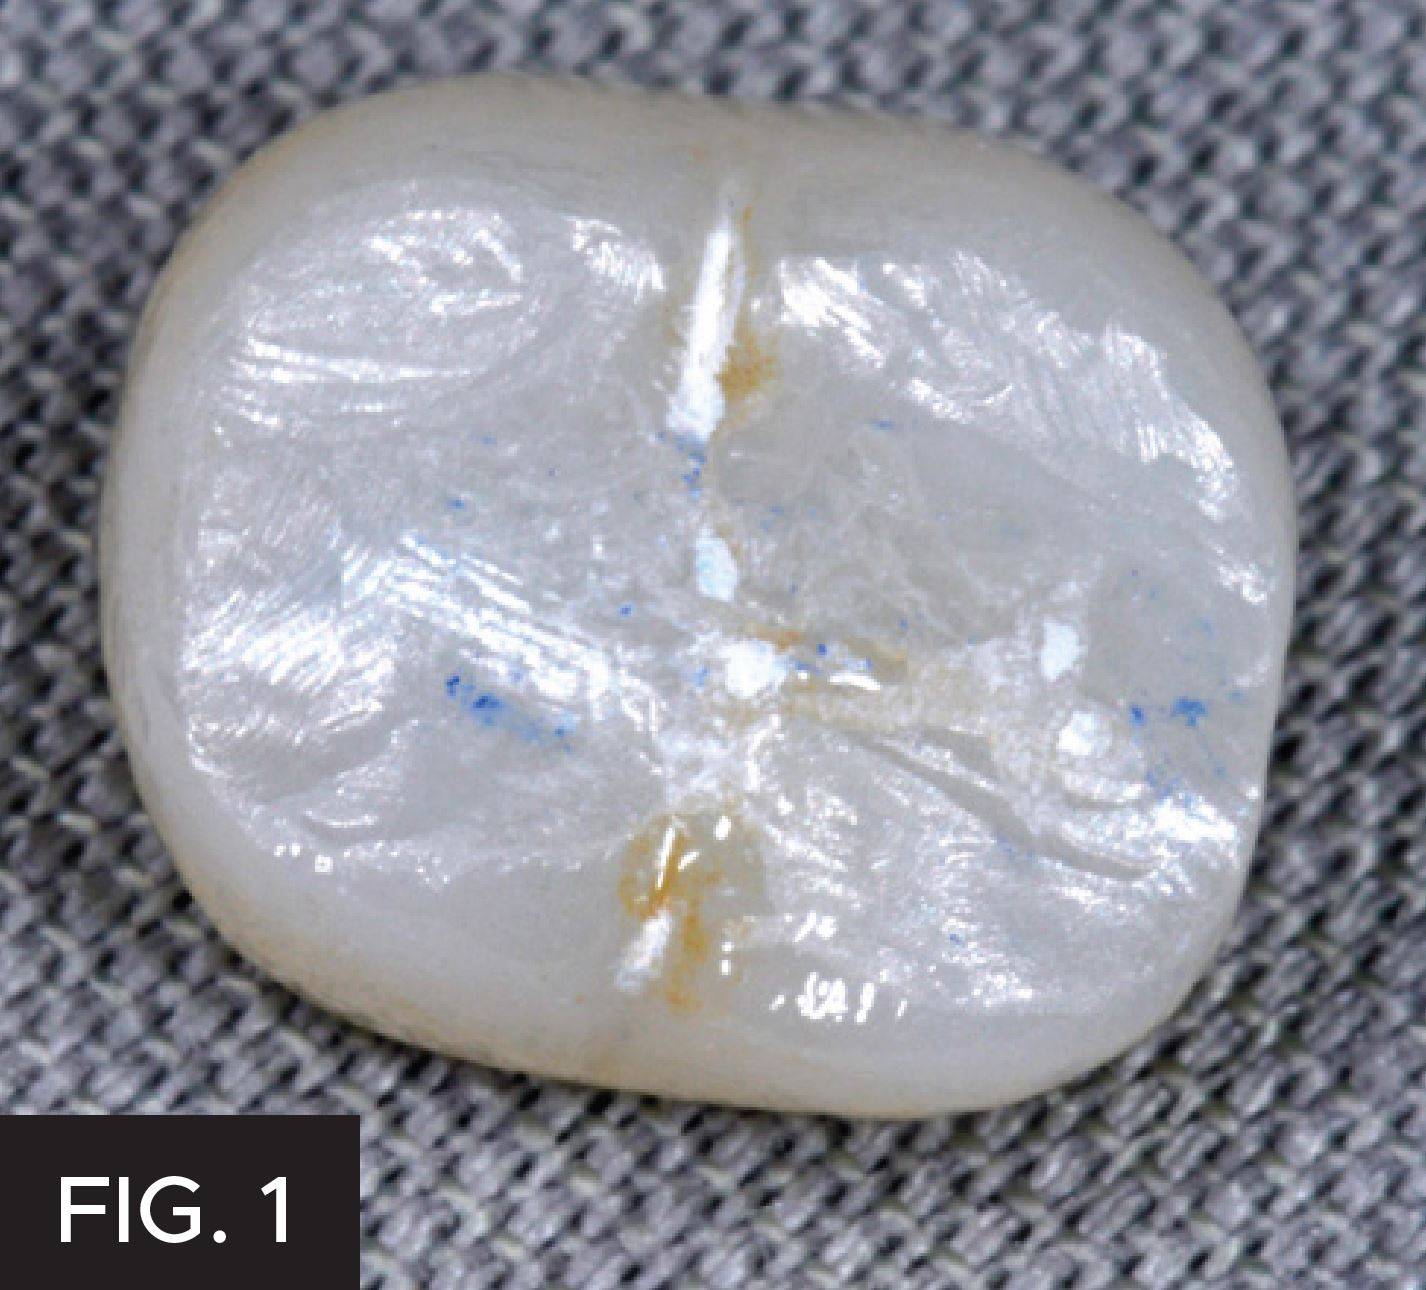
FIG. 1
Zirconia crown after diamond bur adjustment.
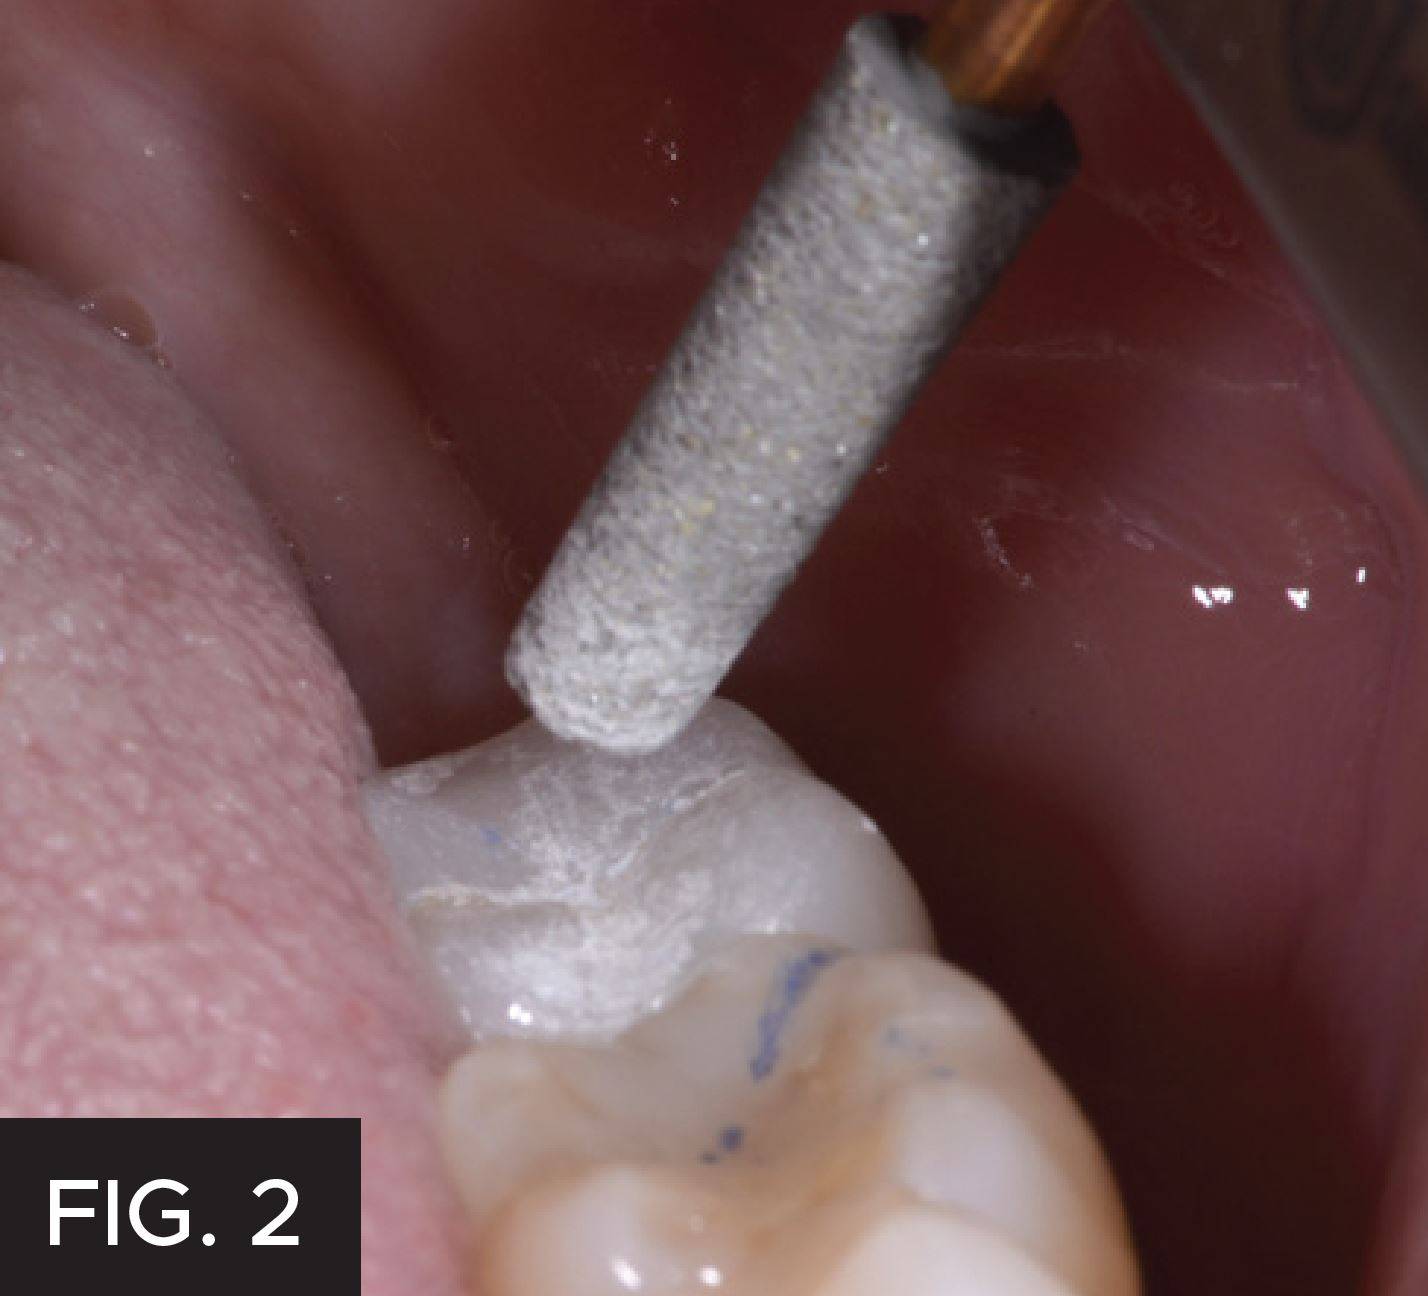
FIG. 2
Diamond impregnated adjusters intra-orally.
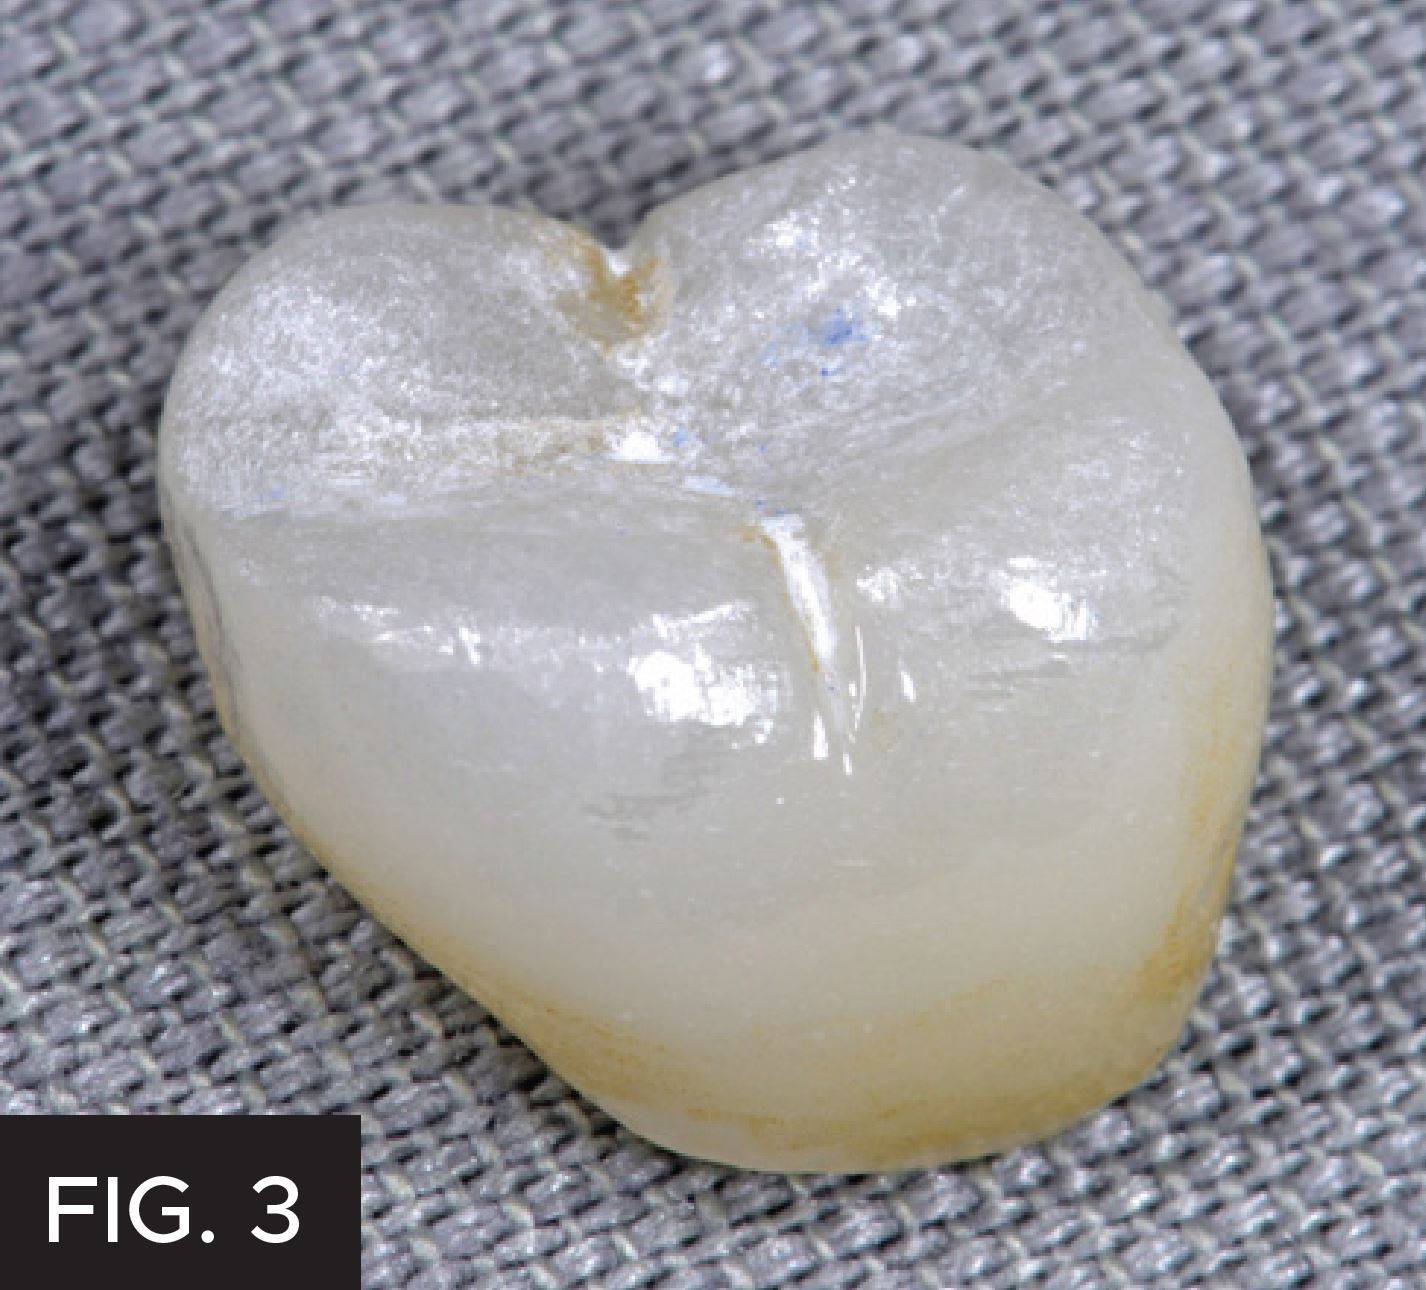
FIG. 3
After use of Diamond impregnated adjusters.
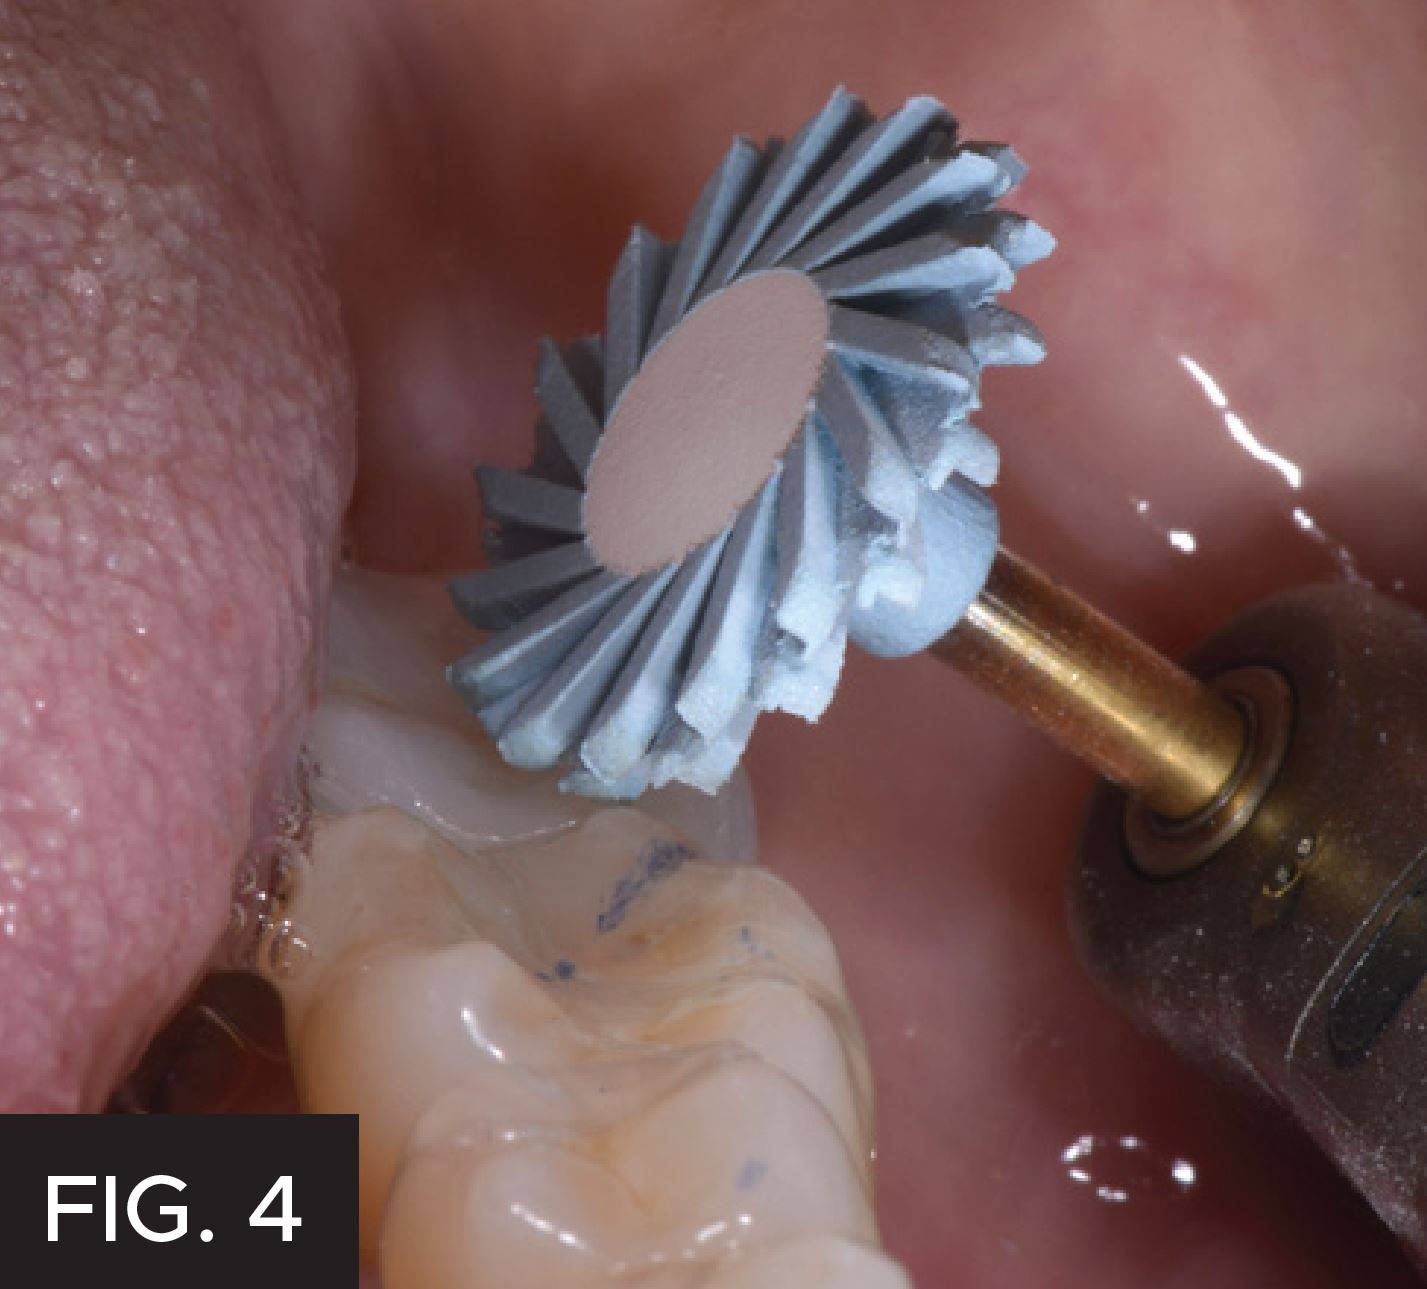
FIG. 4
Use of Blue Pre-finisher.
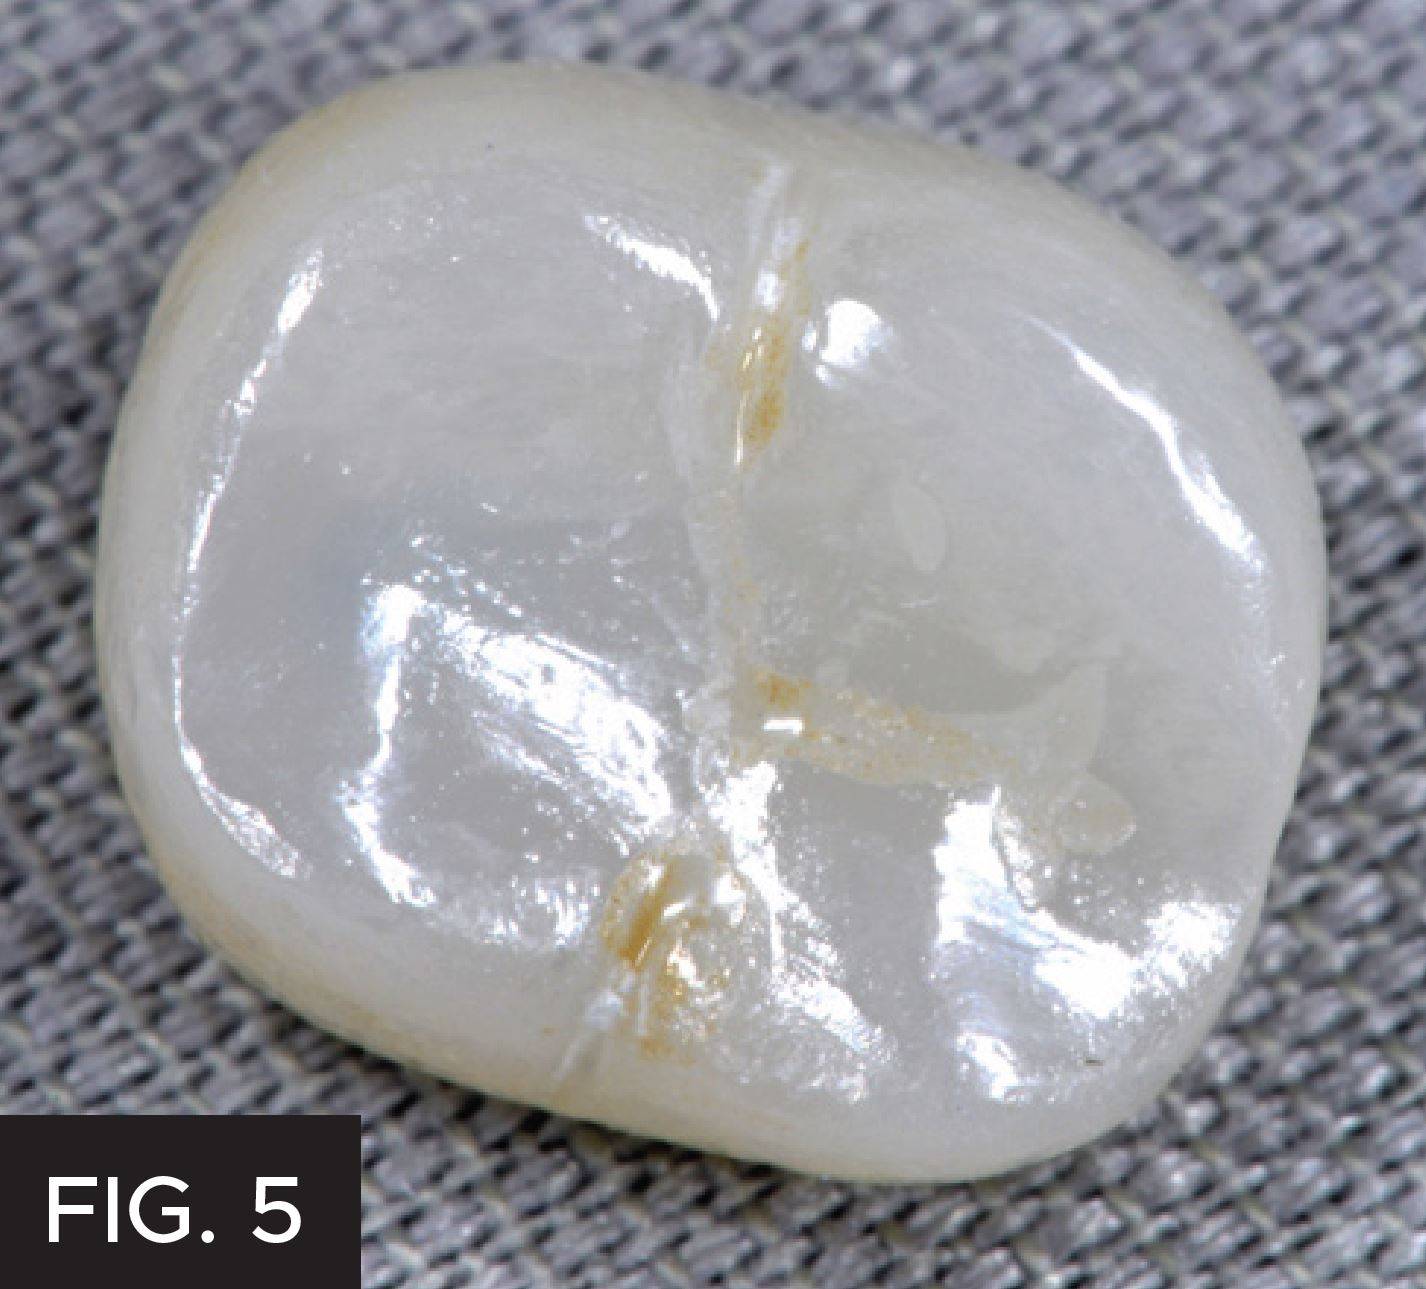
FIG. 5
After use of Blue Pre-finisher, dull smooth surface.
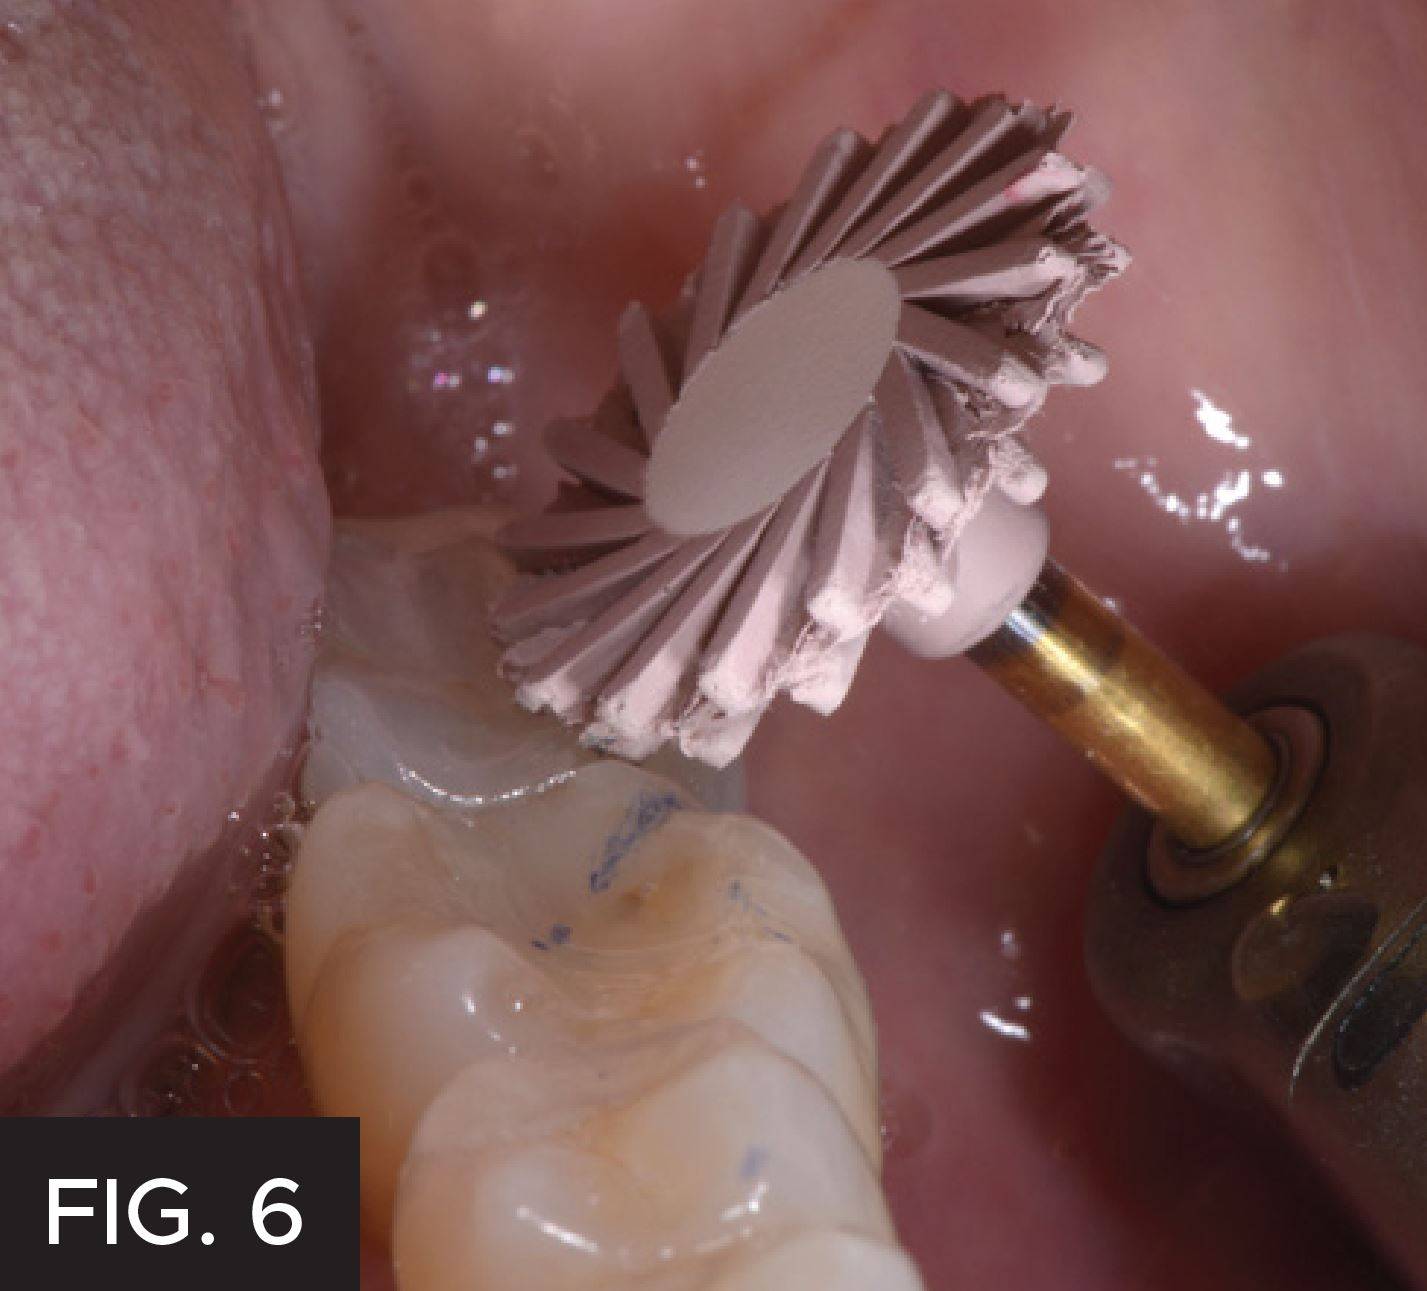
FIG. 6
Use of Pink Polisher.
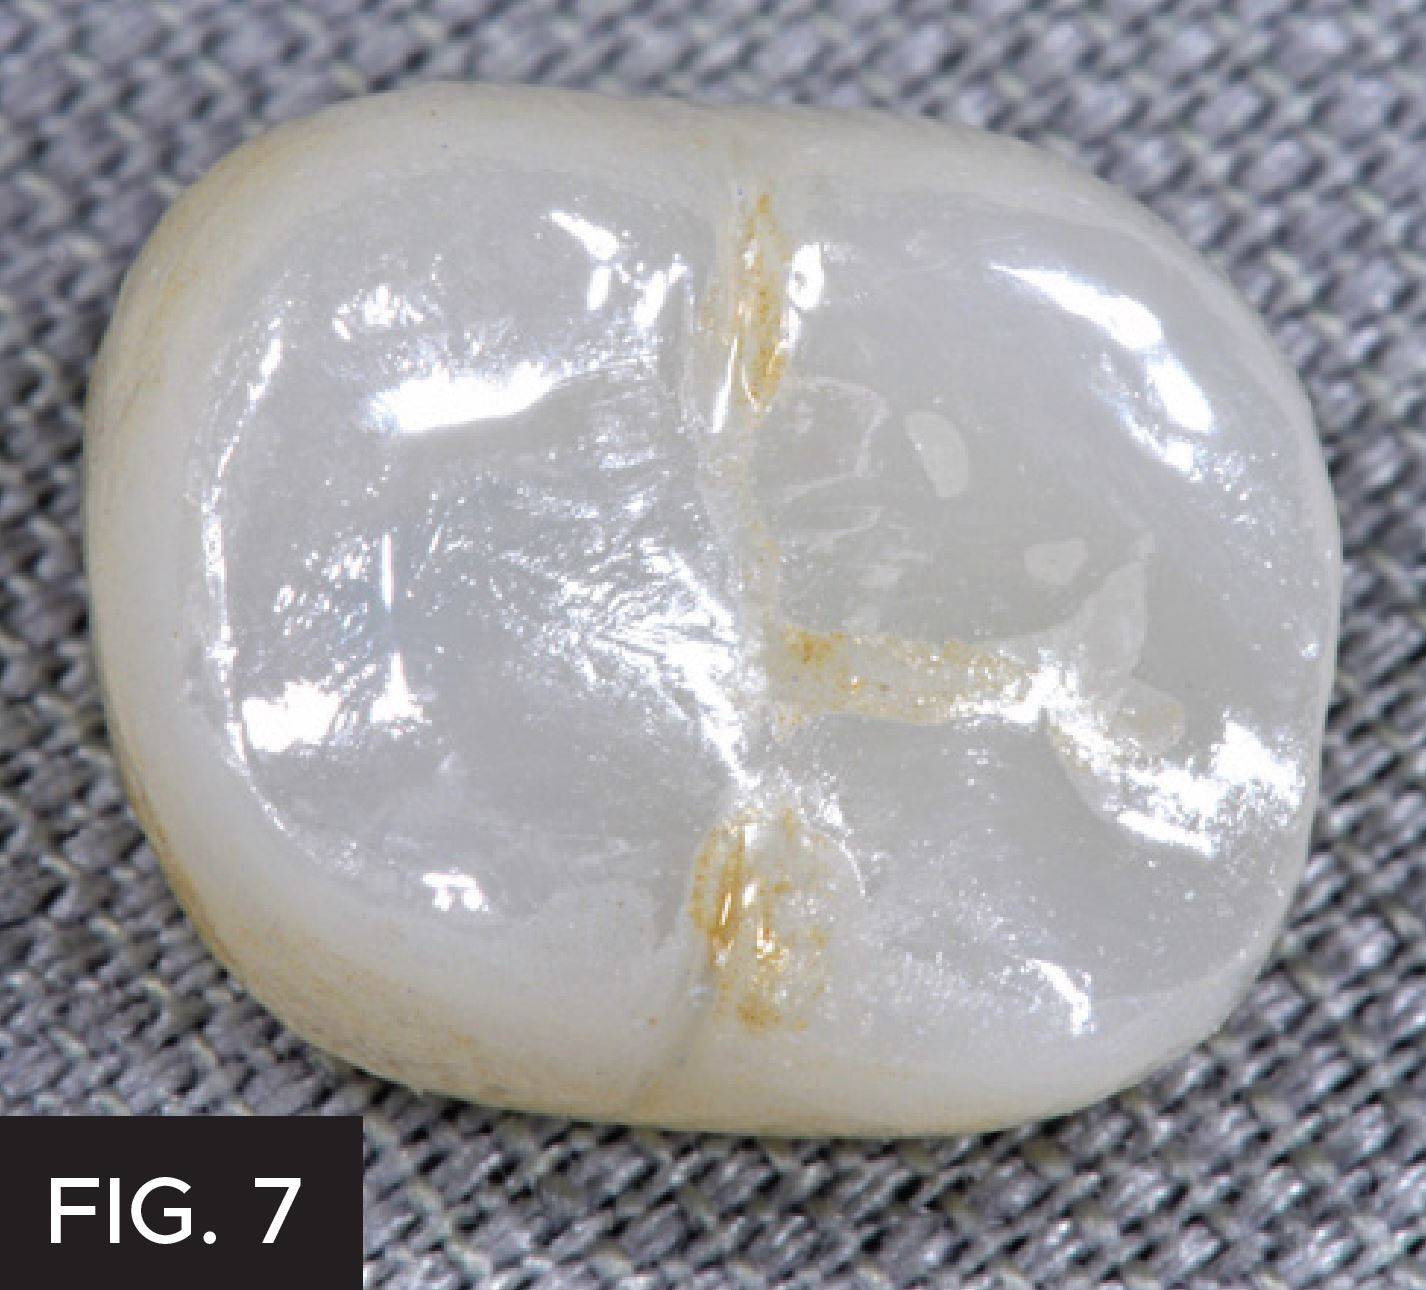
FIG. 7
After complete polishing, for a high gloss surface.
Images courtesy of Fred H. Peck, DDS, FAACD, FICD
About the Author

Fred H. Peck, DDS, FAACED, FICD
Dr. Fred Peck is in private practice in Cincinnati, OH. Dr. Peck is an accredited fellow of the American Academy of Cosmetic Dentistry. He lectures and teaches hands on seminars related to cosmetic dentistry.
Discover More
This article was originally published in the Clinical Life™ magazine: Fall 2021 edition
Clinical Life™ magazine is a premier periodical publication by Clinical Research Dental Supplies & Services Inc. Discover compelling clinical cases from Canadian and US dental professionals, cutting-edge techniques, product insights, and continuing education events.
Subscribe to our emails to receive articles like this and be notified about our exclusive promotions.