- Product Details
- Détails techniques
- Configurations
- Ressources
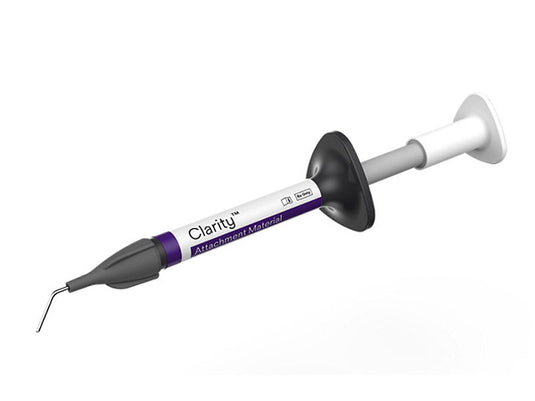
S'appliquant comme une pâte fluide et restant en place comme une pâte, le matériau de fixation Clarity™ vous permet de créer facilement des attaches esthétiques et résistantes aux taches pour aligneurs transparents. Notre seringue ergonomique exclusive offre un meilleur contrôle, minimise les bavures et réduit le gaspillage, tout en garantissant une distribution quasiment sans bulles. Autres caractéristiques :
- Se distribue comme un fluide, reste en place comme une pâte
- Fixations d'alignement durables avec technologie de nano-remplissage brevetée
- Résistance supérieure aux taches pour une excellente esthétique
- Aide à minimiser les flashs et réduit les déchets
- La seringue brevetée offre un meilleur contrôle
- Distribution sans bulles pour une intégrité structurelle
Protocole d'attachement étape par étape
Matériau de fixation Clarity™

Isoler et essayer l'ajustement (facultatif)
Isoler les dents et tester le gabarit de fixation. Rincer et sécher ensuite.

Remplir
À l’aide du matériau de fixation Clarity, remplissez les puits du modèle de fixation.
! Évitez de trop remplir pour réduire le nettoyage du flash.
!Évitez le sous-remplissage pour réduire les vides et les éventuelles défaillances de liaison.
!Protégez le modèle rempli de la lumière jusqu'à son utilisation.

Prophylaxie
Protégez vos dents avec une pierre ponce ou une pâte sans huile. Rincez et séchez soigneusement.
Remarque : si vous utilisez l'apprêt automordançant 3M™ Transbond™ Plus (SEP) dans cette procédure, vous pouvez effectuer une prophylaxie avec de la pierre ponce OU une prophylaxie chimique en utilisant le gel de mordançant de l'étape 4, puis passer directement à l'étape 5 en utilisant le SEP.

Graver
Mordancer les dents avec le gel mordançant 3M™ Unitek™ ou un autre agent mordançant à l'acide phosphorique. Rincer et sécher soigneusement.

Prime
Ajoutez un apprêt sur les dents avec l’apprêt adhésif photopolymérisable 3M™ Transbond™ XT ou un autre apprêt.
Remarque : Pour les professionnels dentaires, sélectionnez un adhésif dentaire et suivez les instructions d'utilisation du fabricant.

Prophylaxie
Insérez le gabarit de fixation et appliquez une légère pression pour assurer un ajustement correct.

Photopolymérisation
1. Appliquez une légère pression avec le doigt sur la surface occlusale et avec la pointe de la lampe à polymériser directement sur l'attache.
2. Photopolymérisez chaque accessoire pendant au moins 6 secondes avec la lampe de polymérisation lumineuse 3M™ Ortholux™.
Remarque : si vous utilisez une lampe de photopolymérisation d'un autre fabricant, reportez-vous aux instructions d'utilisation de ce fabricant relatives aux techniques de photopolymérisation appropriées et suivez-les.

Retirer
Retirez le modèle de fixation de la bouche du patient.

Vérifier
1. Confirmez la fixation sécurisée de chacune des pièces jointes.
2. Retirez tout excès de bavure à l'aide d'une fraise, d'un disque de polissage ou d'un détartreur.
Matériel de fixation Clarity (numéro d'article : 3-103304) : seringue de 2 g avec 20 embouts
Consultez la fiche produit du matériel de fixation Clarity.
Consultez la comparaison concurrentielle des matériaux de fixation Clarity.
Consultez la fiche signalétique du matériel de fixation Clarity.